

Continuing the update on the bathroom renovation in the apartment in Albufeira. Part 3. The next stage – Underfloor Heating Installation.
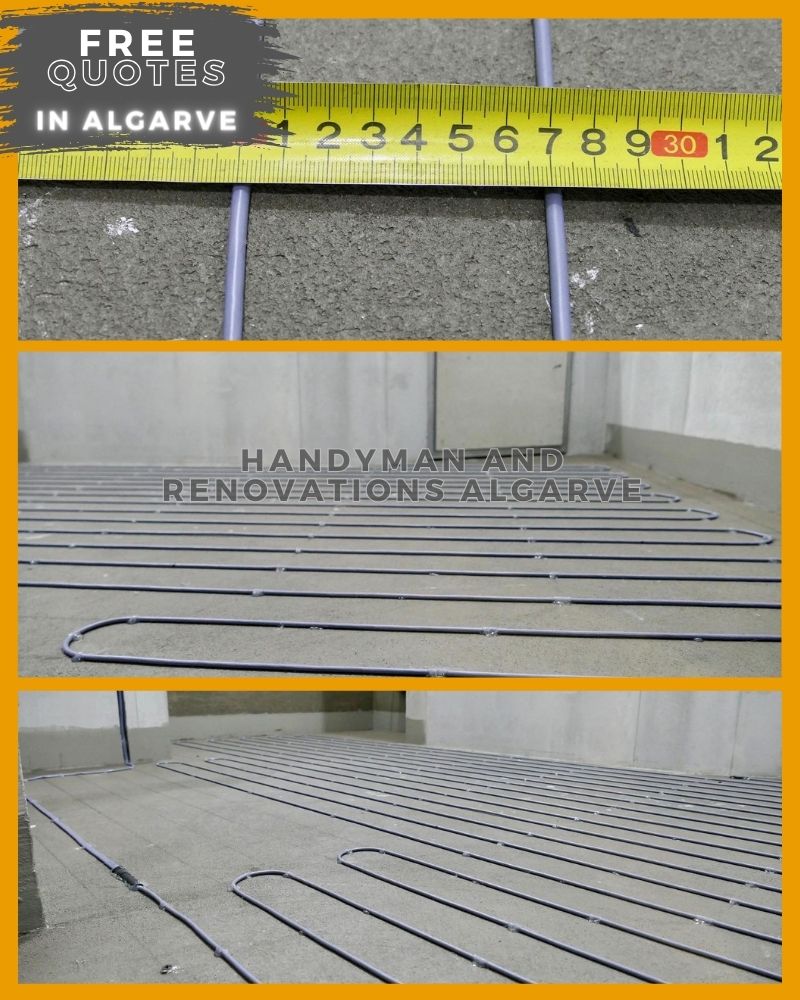
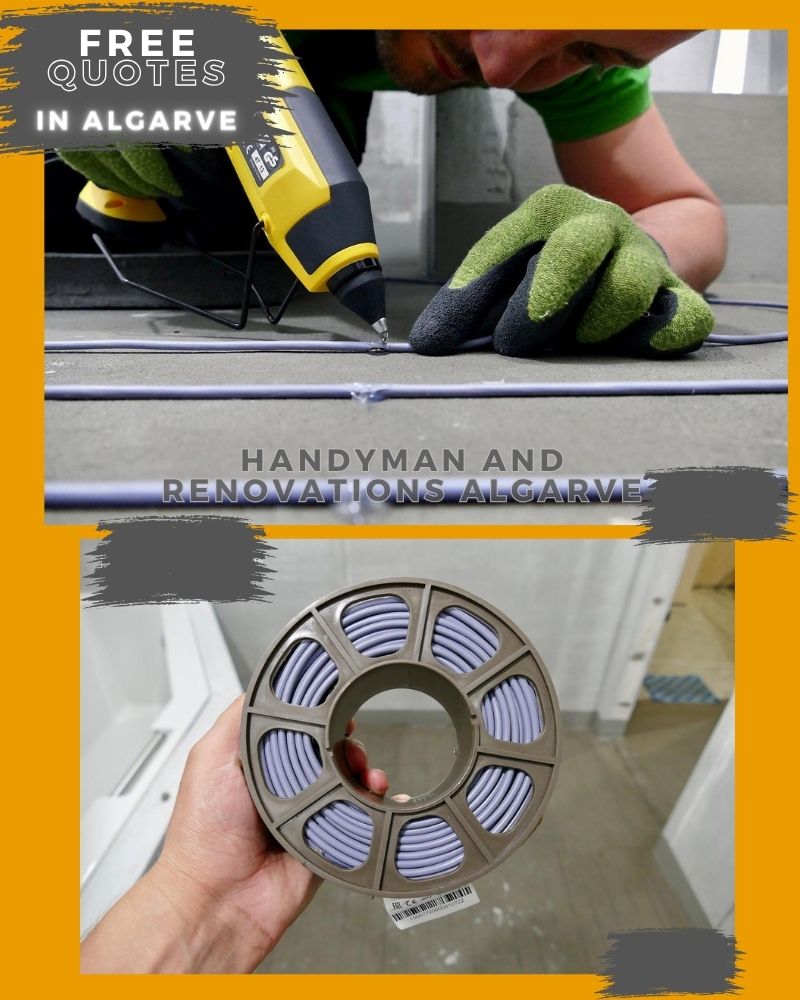
- Starting with floor marking: Standard underfloor heating mats won’t work for us as we need to navigate around plumbing and replicate the room’s geometry. Hence, we prefer cable on a coil for greater flexibility in layout.
- This time, we’ll secure the cable with thermal adhesive and a glue gun, because there’s already waterproofing here, and water supply pipes are laid in the screed, so drilling into the floor is not advisable.
- It’s worth noting that this cable is not intended for installation in the screed. The cable’s 3.5mm power is designed for a thin layer of adhesive and tiles on top. Therefore, no foil-backed insulation should be used underneath. Absolutely not! The screed won’t adhere to the substrate, and at this thickness, it’ll simply crumble.
- Reflective insulation is laid solely under reinforced screeds, at least 50mm thick, and with thicker cables. This way, the screed works due to its own weight, and adhesion is not necessary.
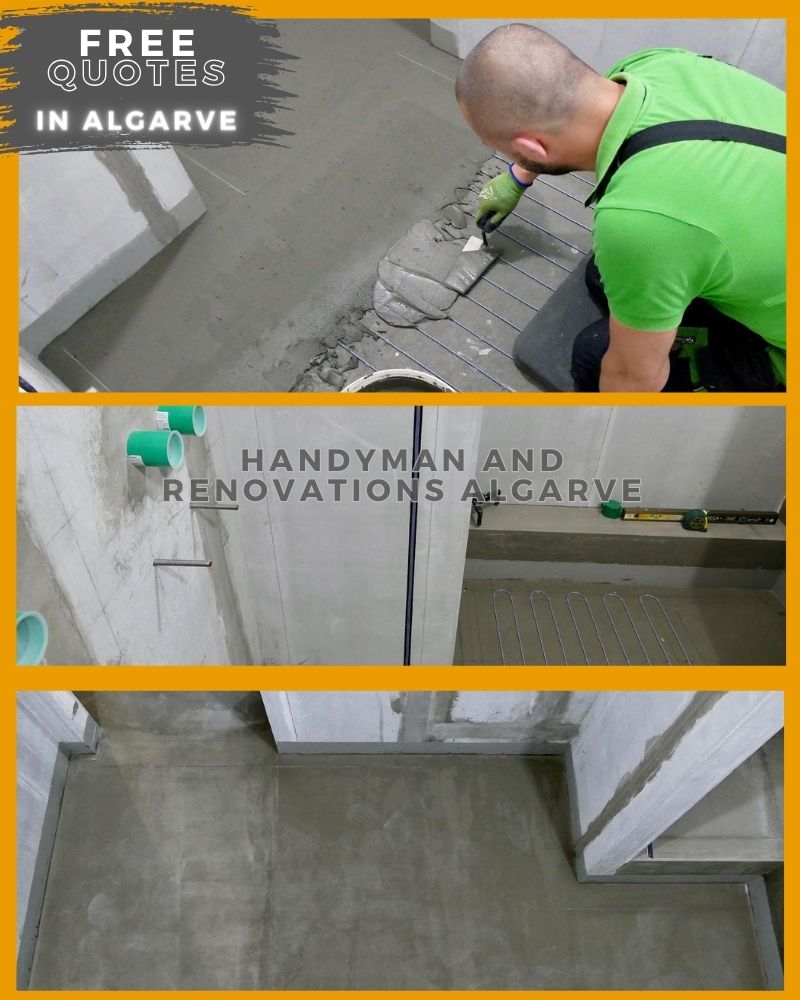
- After laying the cables, we lead the installation wire to the location of the thermostat. Once we’ve ensured the underfloor heating works, we can bury them in the screed.
- Technically, it’s hard to call this a screed; it’s more like floor leveling. In total, the mortar’s thickness is 7mm, 3mm of which is above the cable level.
- Essentially, you can lay tiles directly on the cable, and yes, we used to do it that way. But at some point, we realized it wasn’t the best option. Why? For instance, if a tile breaks and needs replacing, how do you remove it without damaging the cable? You can’t!
- Hence, the main reason for pouring screed over the mats. The stronger the screed, the better the chance the cable remains intact when replacing tiles. And with that, underfloor heating installation is complete.
To learn about our home and apartment repair and renovation services, please click the link.